
Hey, good to see you again. What have you been up to? Oh really? Nice! It’s good to hear that you’ve been doing well.
Oh, the title question? Ah, Sure! If you’re doing the right stuff, that is. Well, ‘the right stuff’ is kinda subjective. If it’s a small project, it shouldn’t be too tough. Earlier today I thought up an idea: we should be able to take an image, and, with a little clustering magic, get a palette of colors that represents that image. How do we want to go about it?
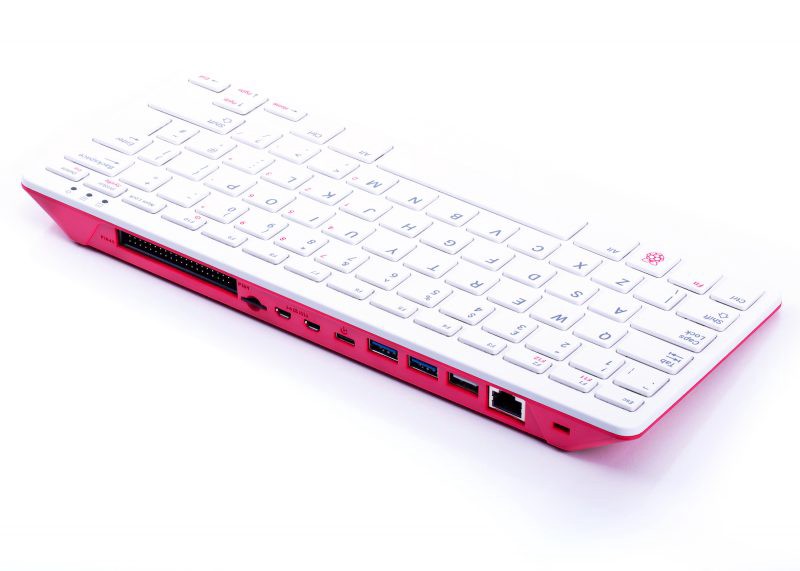
I’ve been doing some programming on my new Raspberry Pi 400 lately. The only real requirement for my project, then, was that it had to be simple enough that my pi could do it.
So, what was the approach? Well, I figured that images, essentially, come in Red, Green, and Blue ( When we’re talking about images on the computer. I know this is a simplification; I’m hoping that true image processing enjoyers don’t annihilate me in the comments. ), and so we can take each pixel, its RGB values, and just… kinda put them into space.
I mean like, really. Imagine each axis is one of the colors. Then take any pixel. It has RGB values somewhere between 0 and 255. So… just… put them in space. Instead of using x, y and z as coordinates, use the r, g and b. Same thing, right?
Why? Because then we can use clustering algorithms to pluck them out of space, that’s why! When we cluster, we can get groups of points out of space that represent groups of colors. Once we have the groups of colors, we can get sort of an average on each of those groups, and each of those averages will represent a color in our palette.
So essentially, that’s the idea. I’m not really much of a machine learning… eh, lord, but I’m pretty OK at math, so hopefully this turns out pretty well. I think my approach more or less makes sense!
( Disclaimer: Approach may or may not make sense. )
Now now now. There’s a little mechanics to deal with up front before we start getting fancy. To open up the images, we use the Pillow library, which is extra cool because it lets you just say ‘Pillow.open()’ and you get the image in an object that you can manipulate.
size = image.size
width = size[0]
height = size[1]                                                               pixels: List[Tuple] = list()
for x in range(width):
for y in range(height):
pixels.append(image.getpixel((x, y)))
So that nets us a list of tuples, each tuple containing the RGB color information for that pixel. Maybe I’m trying a little too hard. If you’re a Pillow pro, toss me a comment if I did that part goofy.
OK, so now we have the image as a list of pixels. Choosing the clustering algorithm was tough, honestly. I wanted to use DBSCAN because it seemed really great for my application ( Spatial clustering — kind of purpose built, right? No? Maybe? ) but unfortunately even with the parameters tuned for performance, the runtimes were getting pretty ridiculous. Once it even just… quit. It sent ‘Killed’ to the terminal and died. Sad!
SO, what to do? Remember, it has to run on the pi… So, let’s go simple and just do K Means. That’s like, the traditional clustering algorithm. But how many clusters?
Well, 9. To start, anyway, as of the writing of this article. 9 because that’s how many colors are in my wife’s Colourpop palettes, and I thought that would be super cute. Great! How?
Lol it’s like 3 lines of code:
numpy_pixel_data: ndarray = numpy.array(pixels)
model = KMeans(n_clusters = 9)
output_dataset: ndarray = model.fit_predict(numpy_pixel_data)
First, turn the pixels into an ndarray that sklearn can deal with. Then, instantiate the model with 9 clusters. Finally… fit. That’s it. OK, fine. So we have the clusters, now how do we make a palette? Pillow has us covered!
After you do the fitting, your model will have cluster_centers_, which we’ll use as the colors for our palette!
def mkpalette(colors: ndarray) -> Image:
width = 200
height = 900
row_height = 100
image_size = (width, height)
palette_image = Image.new('RGB', image_size)
for index, color in enumerate(colors):
color_tuple = tuple(floor(component) for component in color)
for x in range(width):
for y in range(index * row_height, (index + 1) * row_height):
palette_image.putpixel((x, y), color_tuple)
return palette_image
So what’s happening?
For every color in our cluster_centers_, we’re going to add a row to our palette image by coloring in all of the pixels for a given row. The width is 200px, the height is 100px. Once we have that, we can use Pillow to show the image!
I don’t think it turned out so bad for a first try, honestly.
For this image by Marco Ferrarin:
We receive a palette that looks like this:
Not bad! But what about performance?
Well we said it should run on raspberry pi. The original image was pretty large ( something like 1200 x 700 ), and the runtime was… honestly not too bad. The KMeans clustering step took about 50 seconds, which I think is totally reasonable on such a small device.
github repositoryWhat do you think? I think it looks pretty alright. I’m ready for pull requests, issues, etc. on the github repository! Feel free to leave comments. I’d love to hear what you think, especially you machine learning and image processing pros!
Thank you for reading! See you again… soon? I mean. It’s been a couple months since my last article.