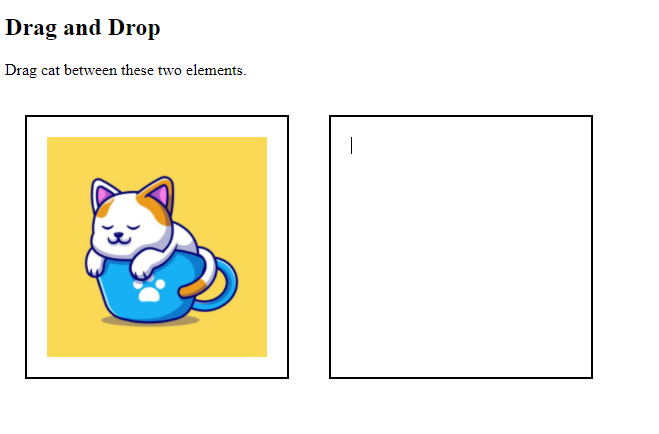
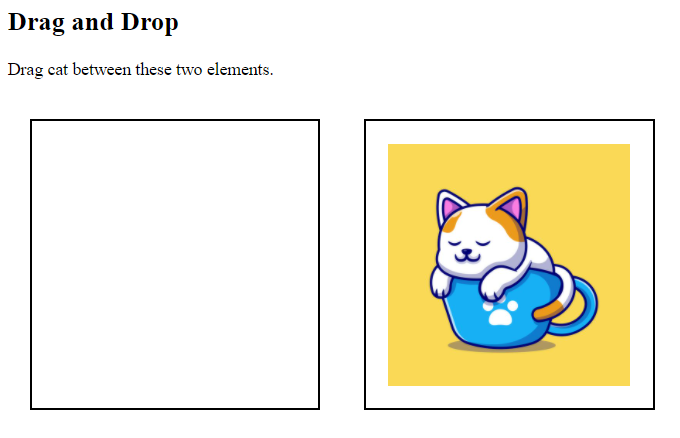
HTML drag and drop API is used for dragging an element from a location and dropping it to another location. The element can be dropped on another application.
This API is very useful to copy, delete or reorder html elements by few mouse clicks only.
Lets discuss few drag and drop events below to understand the various stages of drag and drop functionality.
Drag and Drop API Events:
| Event | Description |
| dragstart | The dragstart event is triggered, when the users drag an element. |
| dragenter | The dragenter event is triggered, when a draggable element is first moved into drop listener. A listener for this event indicates whether the drop over this location is allowed or not. |
| dragover | The dragover event is triggered, when a user drags an element over a drop listener. |
| dragleave | The dragleave event is triggered, when the user leave an element while a drag is occurring. |
| drag | The drag event is triggered, when the element is being dragged. |
| drop | The drop event is triggered, when the element is being dropped successfully at the end of drag operation. |
| dragend | The dragend event is triggered, at the end of drag operation, whether it was successfully completed or not. |
<!DOCTYPE HTML>
<html>

<head>
<style>
#div1, #div2 {
    float: left;
    width: 220px;
    height: 220px;
    margin: 20px;
    padding: 20px;
    border: 2px solid black;
}
</style>

<script>
function allowDrop(ev) {
  ev.preventDefault();
}

function drag(ev) {
  ev.dataTransfer.setData("text", ev.target.id);
}

function drop(ev) {
  ev.preventDefault();
  var data = ev.dataTransfer.getData("text");
  ev.target.appendChild(document.getElementById(data));
}
</script>

</head>

<body>

	<h2>Drag and Drop</h2>

	<p>Drag cat between these two elements.</p>

	<div id="div1" ondrop="drop(event)" ondragover="allowDrop(event)">
       <img src="media/cat.jpg" draggable="true" ondragstart="drag(event)" id="drag1" width="220" height="220">
       </div>

        <div id="div2" ondrop="drop(event)" ondragover="allowDrop(event)"></div>

</body>
</html>

Drag and Drop Working
Now lets see how drag and drop API can be operated.
Step 1: Making an Object draggable:
- Firstly, for making an object draggable, set draggable attribute true. In above example image is made draggable by adding draggable attribute and setting its value true, such that:
<img src="media/cat.jpg" draggable="true">
- Now for specifying what data should be dragged, ondragstart attribute is added(in the element we want to drag) which calls a function drag(event).
<img src="media/cat.jpg" draggable="true" ondragstart="drag(event)">
- In Function drag(event) the dataTransfer.setData() method sets the data type and value of dragged data.
function drag(ev) {
  ev.dataTransfer.setData("text", ev.target.id);
}
Now by adding these attributes and function only drag operation will start working and produce the following result.

Step 2: Making an Object droppable:
The drop target has to listen at least three events to accept a drop.
- For specifying the drop target, ondragover attribute is used which calls a function allowdrop() having ev.preventDefault() method, this method checks whether or not the dropped target accepts the drop. If the drop is accepted( it means the dragged object is on exact dropped location and can be dropped there) so, this event has to be canceled.
<div id="div1" ondragover="allowDrop(event)">

function allowDrop(ev) {
  ev.preventDefault();
}
- When the data is dropped, the drop(event ) method is triggered written in ondrop attribute.
- This method executes the following sets.
- preventDefault(): It prevents the data from being handled by the browser’s default settings.
- dataTransfer.getData(): It will get the dragged data which was set prior.
- appendChild():It will append the dragged data into drop element.
<div id="div1" ondrop="drop(event)" ondragover="allowDrop(event)">

function drop(ev) {
  ev.preventDefault();
  var data = ev.dataTransfer.getData("text");
  ev.target.appendChild(document.getElementById(data));
}
Now By adding all drag and drop operations it will produce the following result.

